I have some grout that has started to crack; what is the best way to repair it? A professionally installed tile floor should have space between the tiles for the typical tile flooring expansion and contraction. However, even a little movement can crack the grout and cause it to fall apart.
The cause of grout damage must be addressed immediately to prevent further damage to the surrounding tiles.
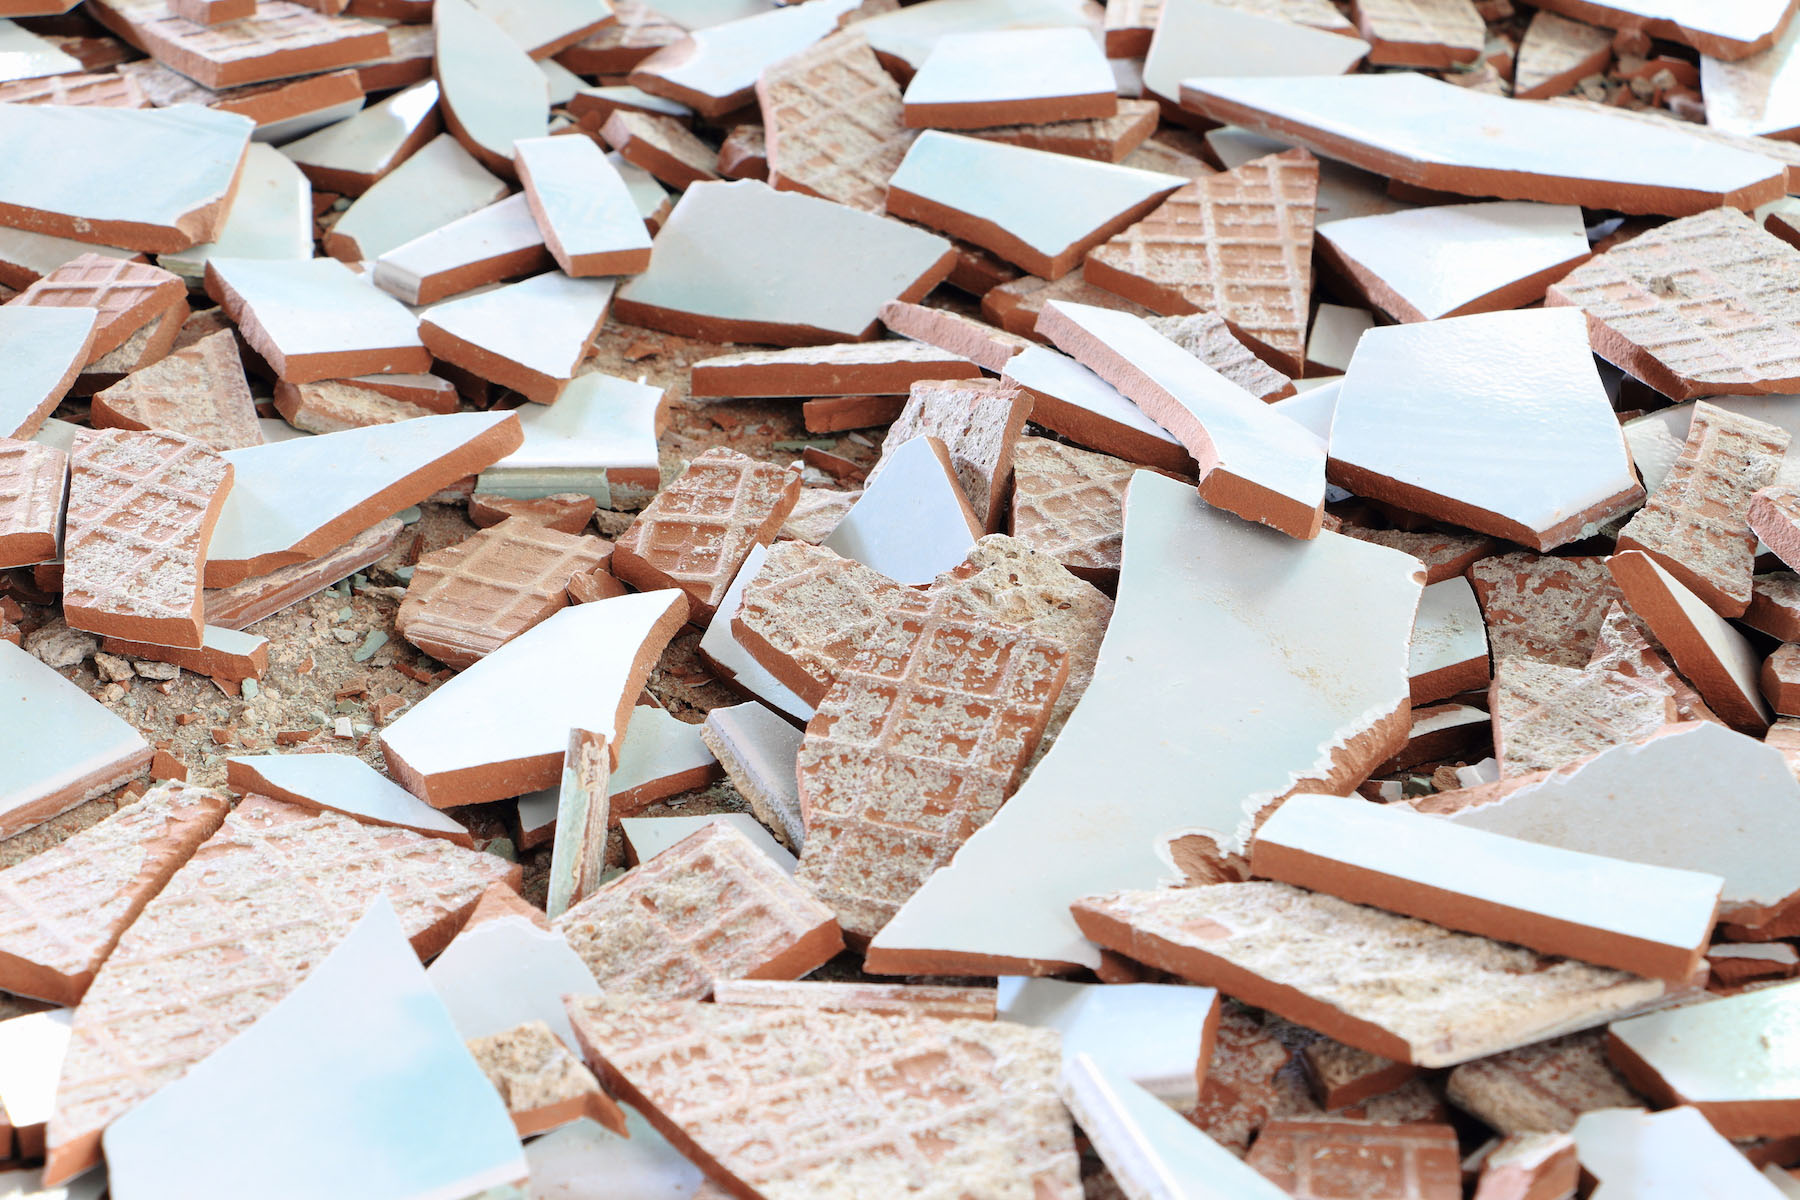
While wear and tear are certainly culprits in grout cracking, uneven flooring can also be a problem. Therefore, before attempting the below steps, we recommend consulting a dustless tile removal contractor in Mesa to determine the root of the issue.
Cracked Tiles: Repairing the Grout Between the Tiles
Are you tiling a floor? First, check the grout’s width to make sure you have enough. If the grout lines are narrower than 1/8 inch, use unsanded epoxy or acrylic latex grout. If your grout lines are more than 1/8 inch wide, you’ll need to use sanded grout.
- The only flooring that is an exception is marble tiles. Grout that has been sanded can scratch the surface, so epoxy or acrylic latex is a better option.
- Bring a small sample to a tile shop or hardware store to find replacement grout. Get some grout that matches the sample and use it to replace the old stuff.
- Even though it’s possible to get a perfect color match by adding water to the grout mix, it could weaken the grout’s texture and stability.
- Add 1 tablespoon of white vinegar to 1 tablespoon of water and stir. This concoction can be used to clean up broken grout.
- Remove the broken grout by sawing it out with a grout saw.
- The blade of the saw (it looks like a screwdriver or a round handle with a saw on end) is inserted into the cracked grout joint.
- Cutting grout requires moving the saw along the joint. If the grout is stubborn, you may need to apply more pressure as you move the grout saw along the joint.
- Pay close attention to avoid scratching the tiles.
- Use a damp paper towel to wipe down the grout. Do away with any pooling water in the tile joints. Help the grout adhere to the tiles by keeping the tile edges moist.
- Follow the instructions on the package to determine how much water to add to the grout you’ve chosen. Pre-mixed grout already has the right amounts of sand and Portland cement.
- Put the grout and water into a disposable container and stir well. Properly mixed grout will be able to form a ball. Drive the grout into the crack using the grout float. Modify the joint by rubbing the rounded end of a craft stick across it.
- Moisten a sponge and use it to clean the tiles around the area. Repeatedly rinsing the sponge will keep it from spreading grout onto nearby tiles.
- Follow the directions for drying the grout. Temperature and humidity may have an impact on drying times.
- To complete the cleaning, wipe the surrounding tiles with a damp cloth. If the cloth is ineffective, try cleaning the stain with water and vinegar. Apply this solution to a clean sponge and wipe the tile floor thoroughly. Follow up with a clean cloth to dry the floor.
- Grout sealant should be applied with a small paintbrush following the manufacturer’s instructions. Before continuing, make sure the grout sealer has dried completely.
Mesa Dustless Tile Removal: The Straightforward Method
If you already have cracks in the grout, they may spread if the problem persists. Because of this, you will need the help of professionals skilled in dustless tile removal.
To get the same high-quality tile removal service without the mess. Contact Kodiak Tile and Stone, or you can fill in the compact form for a direct reply.
You can check out customer reviews here, ‘SoTellUs’, and also the BBB reviews for more information