How Do You Remove Engineered Wood? Although removing flooring does not require much expertise, it can be time-consuming and messy.
Turning off the HVAC system in your house, or at the very least shutting off the vents in the space where you’re working, can prevent dust from spreading to other areas of your home if any of the removal activities require scraping and sanding. Remember to wear a dust mask when performing these tasks.
However, doing it yourself can be hazardous as the dust can irritate your lungs and throat. It is much better to let your Mesa floor removal company deal with the mess from engineered wood flooring removal.
Here is the hard way to do it, and by the end, you’ll see why it is much better and safe to use the local tile removal company.
What is Engineered Wood? Mesa Floor Removal Experts
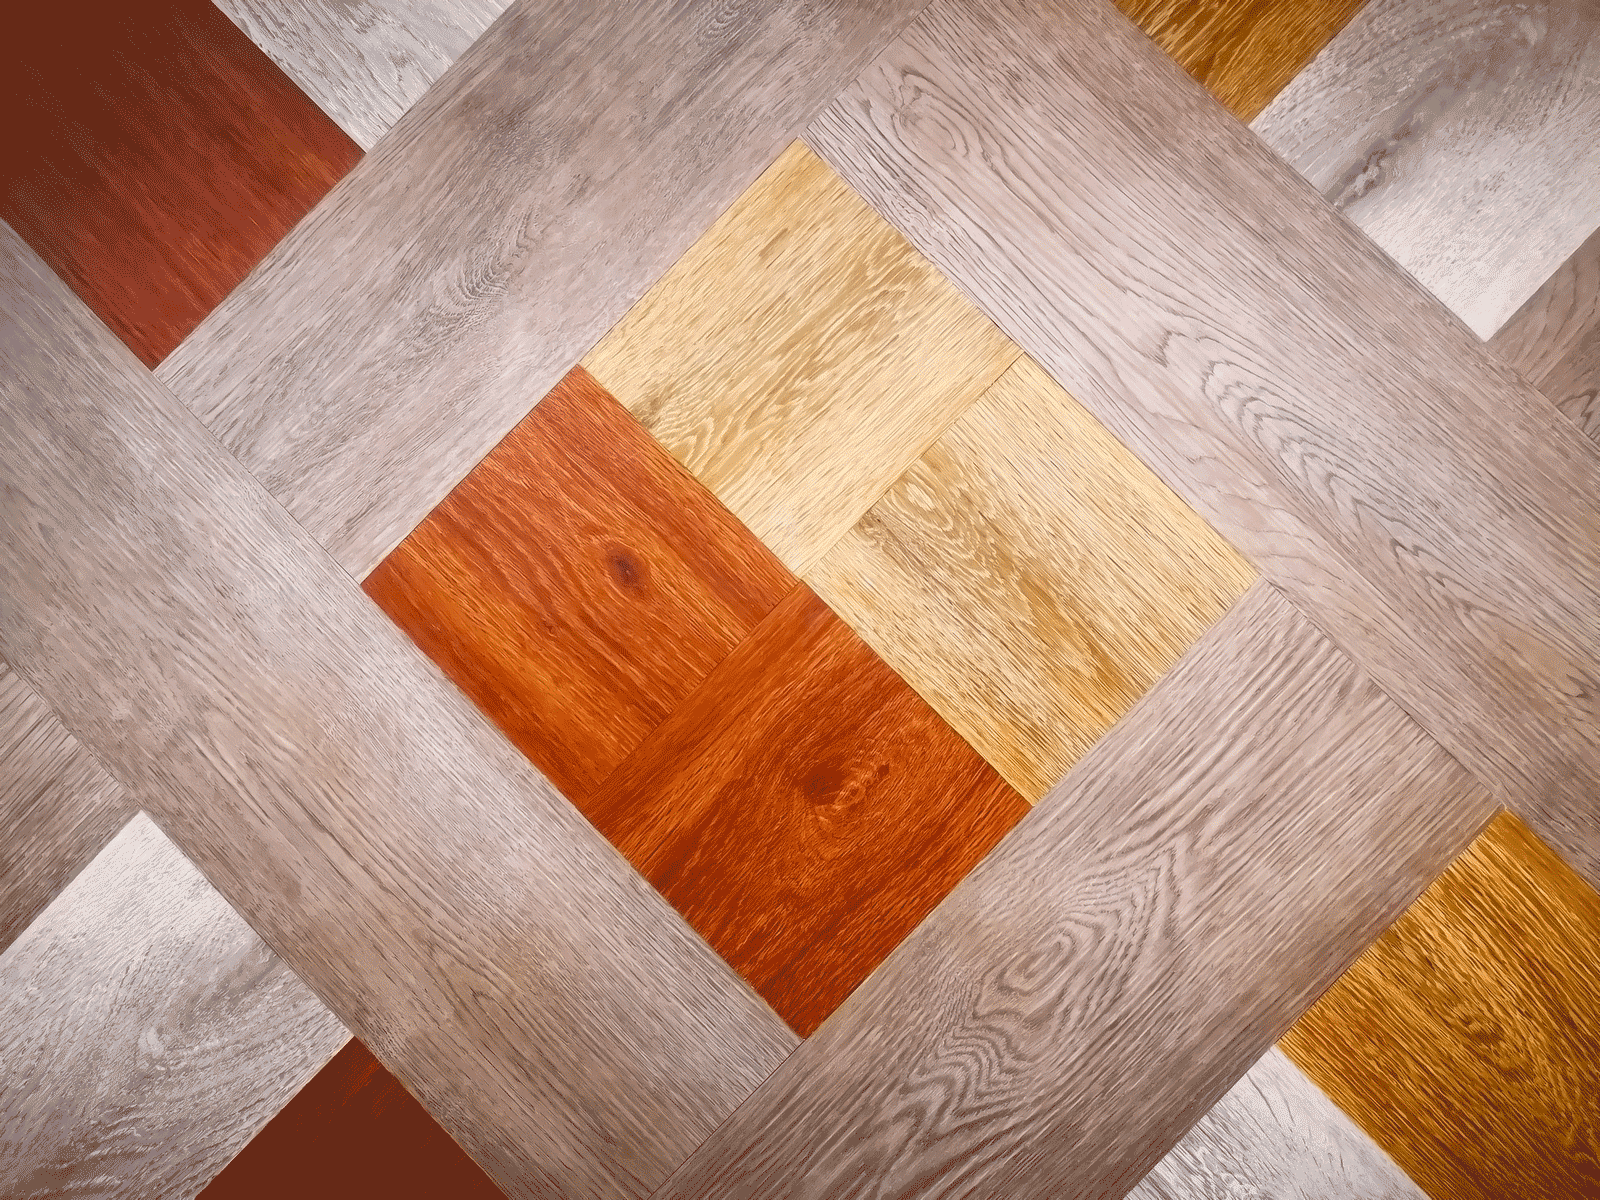
Engineered wood is composite flooring that has a natural wood veneer on top. Engineered floors are installed with glue to secure the wood to the subfloor. The panels are often glued to each other but not to the subfloor.
Some engineered floors are more difficult to remove than others, depending on the construction process. Select the tools and equipment for this project to minimize the job’s time and complexity level.
How to Remove Engineered Woods Floors the Hard Way
- Look at the floor’s edges. An entire floorboard should be visible on one foot, showing where the installers began laying the foundation. A partial or torn board is visible on the other side, showing where the installation was done. Begin removing engineered flooring from the entire board side.
- Using your pry bar and mini sled, pry up the first complete row of flooring. Make sure that the board’s tongue side is facing you. Engineered flooring is almost always easier to remove from the tongue side rather than the grooved edge.
- Set the depth of your engineered flooring with your circular saw. Put on your protective goggles and cut every 12 to 18 inches along the floor seams. Cut the board from one end to the other, being careful not to damage the wall.
- Create parallel cuts to the others you just created along the seams with your circular saw. Every 12 to 15 inches across the floor surface, cut the floorboards from one end to another. As you make these cuts, be careful not to damage the walls.
- Pry a portion of flooring along the starter row with your pry bar. Pry up each section of engineered flooring with your pry bar and mini sled.
- Using a floor scraper, remove the adhesive from the subfloor. If you’re having trouble removing the glue, pour some soapy water on the floor and let it soak in.
- To remove stubborn adhesive spots, use a chemical adhesive stripper. Ensure the space is well ventilated before using a paintbrush to add the stripping compounds to the adhesive. Allow a certain amount of time for them to soak up, then scrape the glue away with your floor scraper.
![]()
Remove Engineered Wood with Mesa Floor Removal Company
Engineered wood can cause lots of dust, as can ceramic tiles. The way it is made, it can irritate and stay in your home for weeks.
When removing an engineered wood floor, consider using the professionals and their dust-free tools. Besides this, you don’t have to dispose of the old floors as this is catered for.
Kodiak provides exceptional customer service from the beginning. If you want to know more, you can Contact Kodiak Tile and Stone or fill in the compact form for a direct reply.
You can check out customer reviews here, ‘SoTellUs,’ and the BBB reviews for more information.